화면은 어떻게 구성할까?!
View 한가운데에 “Hello World”가 쓰인 Label 두기
lazy var helloWorldLabel: UILabel = {
    let label = UILabel()
    label.text = "Hello World"
    return label
} ()
UILabel 인스턴스 생성하고
하지만 사용하려면 View가 Load 되었을 때 호출해주어야 함
·
·
·
View component들의 생김새를 관리하는 함수들을 한곳에 모아두기
// MARK: Configures
func configureViewComponents() {
    self.view.backgroundColor = .systemBackground
}
self는 RootViewController를 의미한다
.systemBackground 를 사용한 이유는
다크모드, 라이트모드 적용 가능 / 다크모드로 들어가면 safeArea 부분의 시간 등의 내용이 보이지 않기 때문!
·
·
·
“Hello World” label의 위치 갖고 놀아보기
// MARK: Configures
func configureViewComponents() {
    self.view.backgroundColor = .systemBackground

    view.addSubview(helloWorldLabel)
    helloWorldLabel.translatesAutoresizingMaskIntoConstraints = false   // 코드적으로 constraints를 주기 위해

//  helloWorldLabel.topAnchor.constraint(equalTo: view.topAnchor).isActive = true
//  helloWorldLabel.leftAnchor.constraint(equalTo: view.leftAnchor).isActive = true

//  helloWorldLabel.topAnchor.constraint(equalTo: view.safeAreaLayoutGuide.topAnchor).isActive = true
//  helloWorldLabel.leftAnchor.constraint(equalTo: view.safeAreaLayoutGuide.leftAnchor).isActive = true

    helloWorldLabel.centerYAnchor.constraint(equalTo: view.centerYAnchor).isActive = true
    helloWorldLabel.centerXAnchor.constraint(equalTo: view.centerXAnchor).isActive = true
}
코드로 constraints를 주기 위해서는 translatesAutoresizingMaskIntoConstraints 프로퍼티 값을 false로 만들어 주어야 함
각 View 별로 top / bottom / left / right Anchor가 있는데, 이를 잘 조절하여 constraint 넣음
바로 View에 Anchor를 두면 safeArea 무시당한다
이를 방지하기 위해 safeAreaLayoutGuide 프로퍼티 선언한 뒤 Anchor 넣는다
Component의 가운데를 기준으로 위치 선정하고 싶다면 centerAnchor 사용!
·
·
·
“Hello World” Button 생성 및 배치
lazy var helloWorldButton: UIButton = {
    let button = UIButton(type: UIButton.ButtonType.system)
    button.setTitle("Hello World", for: UIControl.State.normal)
    return button
} ()

// MARK: Configures
func configureViewComponents() {

    ...

    view.addSubview(helloWorldButton)
    helloWorldButton.translatesAutoresizingMaskIntoConstraints = false
    helloWorldButton.centerXAnchor.constraint(equalTo: view.centerXAnchor).isActive = true
    helloWorldButton.topAnchor.constraint(equalTo: helloWorldLabel.bottomAnchor, constant: 10).isActive = true
}
UIButton 상속하여 helloWorldButton 생성하고
ButtonType.system으로 지정하여 iOS에서 설정해준 버튼 스타일로 설정!
addSubView로 view에 배치한 뒤
translatesAutoresizingMaskIntoConstraints로 코드로 constraint 작성하고
centerXAnchor로 x축 위치 지정
그리고 topAnchor로 helloWorldLabel의 10px 아래에 배치
·
·
·
HelloWorld View 생성 및 배치
lazy var helloWorldView: UIView = {
    let view = UIView()
        view.layer.cornerRadius = 10
    view.layer.borderColor = UIColor.tertiarySystemGroupedBackground.cgColor
    view.layer.borderWidth = 1
    return view
} ()

func configureViewComponents() {

    ...

    view.addSubview(helloWorldView)
        helloWorldView.translatesAutoresizingMaskIntoConstraints = false
        helloWorldView.centerXAnchor.constraint(equalTo: view.centerXAnchor).isActive = true
        helloWorldView.topAnchor.constraint(equalTo: helloWorldButton.bottomAnchor, constant: 10).isActive = true
        helloWorldView.widthAnchor.constraint(equalToConstant: 100).isActive = true
        helloWorldView.heightAnchor.constraint(equalToConstant: 40).isActive = true
}
UIView 생성하고
backgroundColor를 .tertiarySystemGroupedBackground로 지정하여 iOS에서 지정해주는 두번째 백그라운드 색상으로 설정한다
addSubView로 view에 배치 후
위치설정은 이전과 비슷하게 진행하고
다른 component들은 내부의 글자 크기에 맞춰서 width와 height가 생성되지만, UIView는 그런게 없으므로 따로 설정해두어야 함
이건 widthAnchor와 heightAnchor를 .constraint(equalToConstant:)로 설정할 수 있다
해당 component를 따로 더 커스터마이징 하려면
.layer를 사용하여 이런저런 커스텀 가능하다
커스텀된 요소가 어떤 값을 필요로 하는지 주의!한다
예를 들어, .backgroudColor는 UIColor를 필요로 하는 반면, .borderColor는 CGColor를 필요로 함
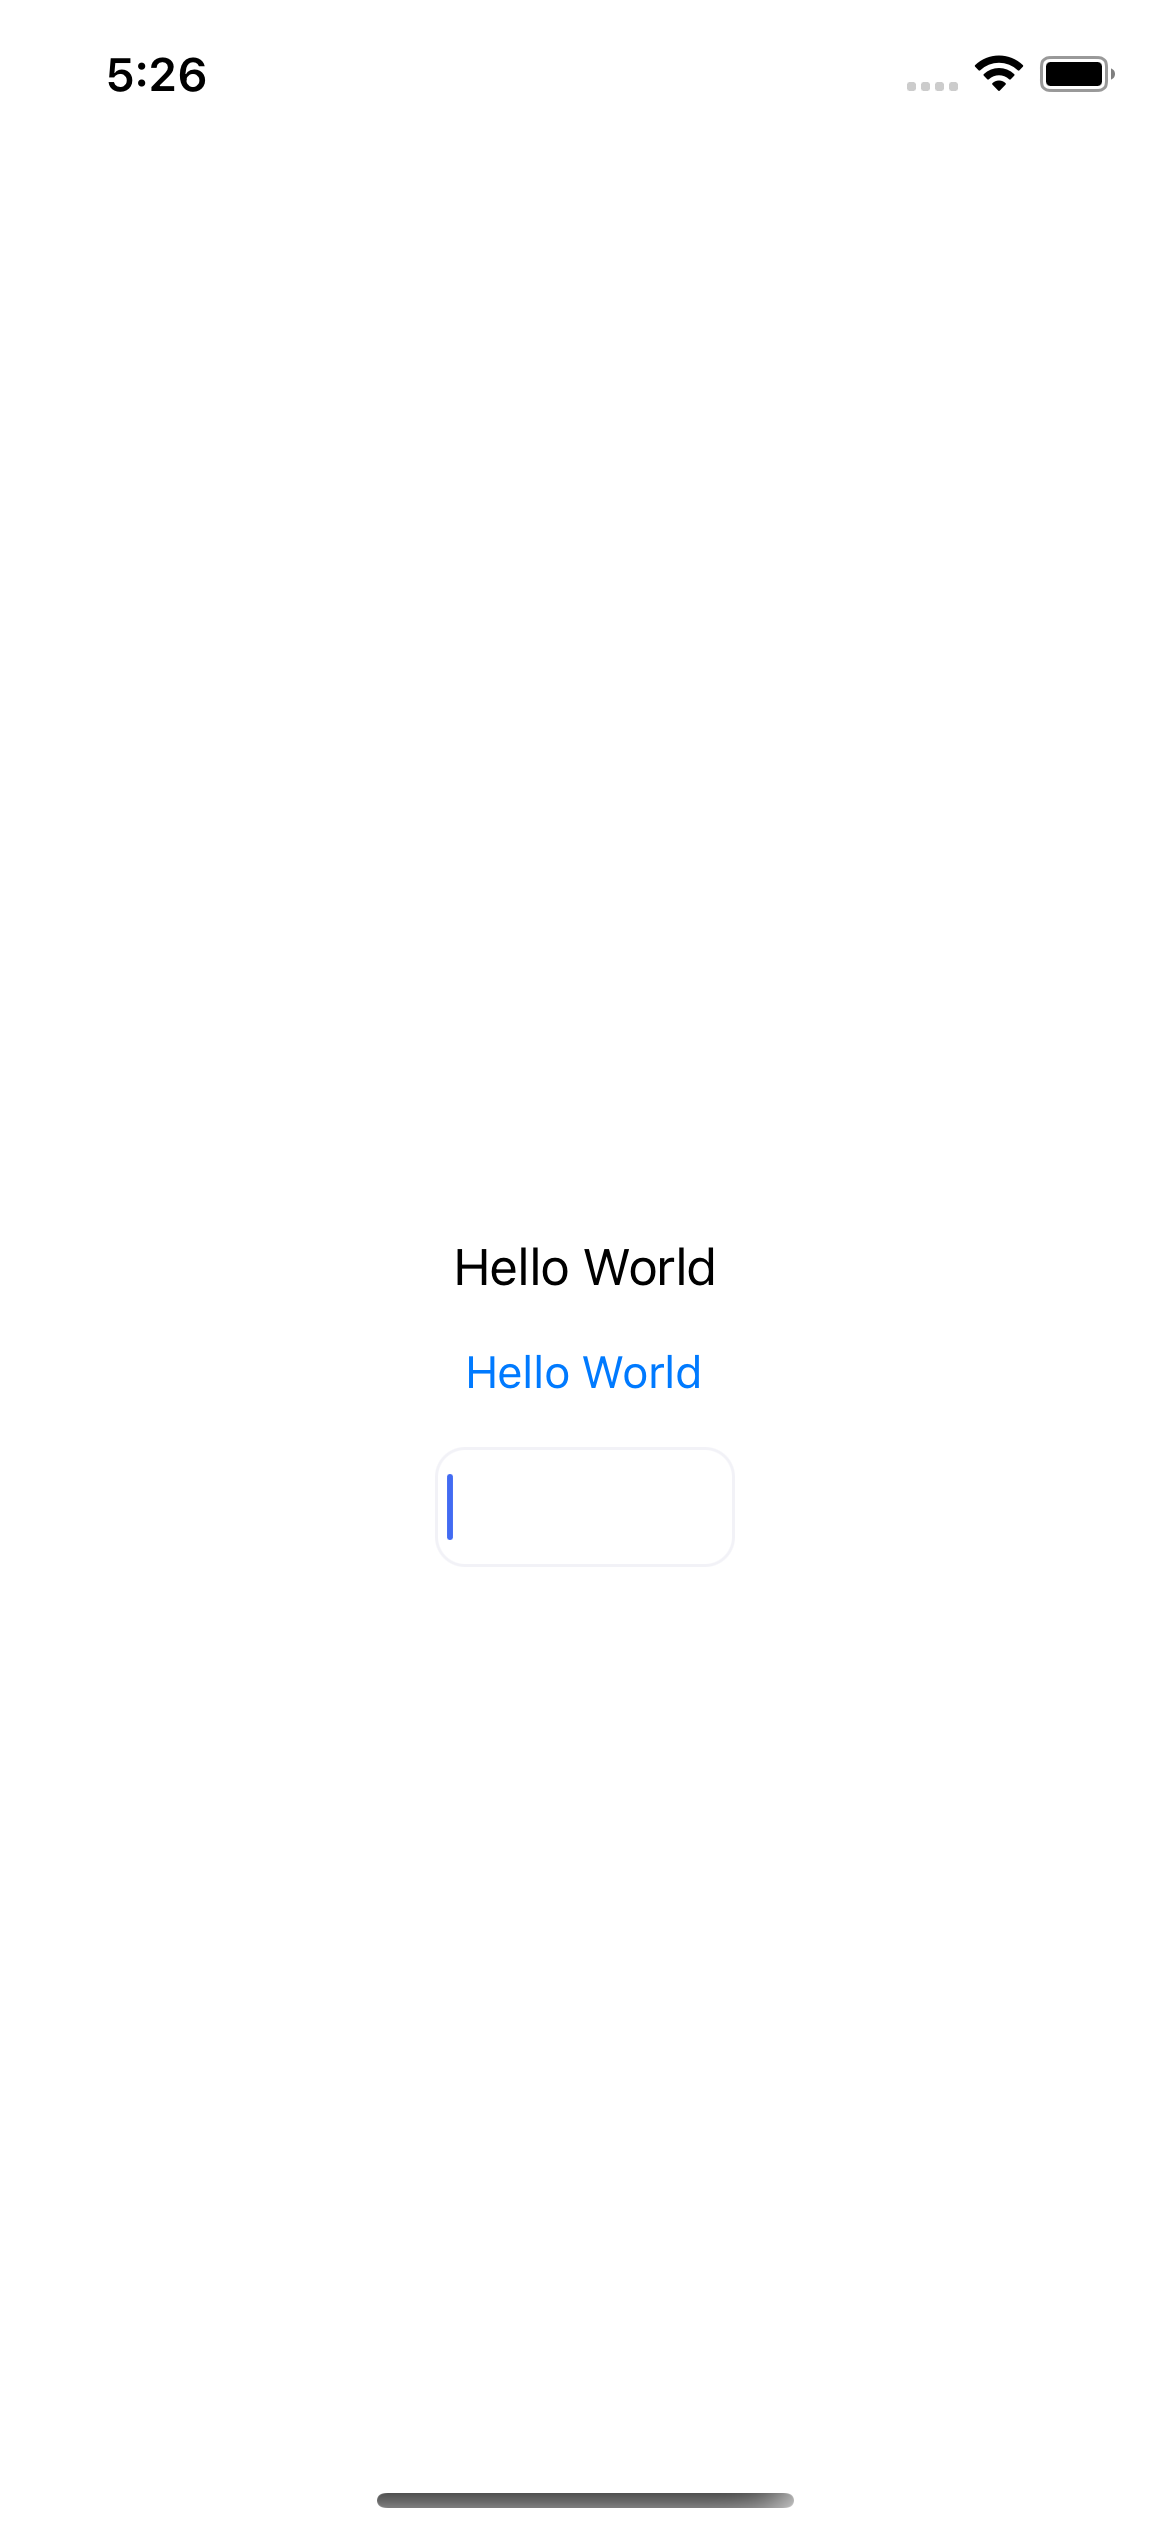
강의를 #1 부터 #2까지 들었을 때의 결과물!
사실 별건 없음 ㅎㅎ..
'멀고도 험난한 개발 일지' 카테고리의 다른 글
| UIKit_유투브_신동규 - #5 UI 실습 (0) | 2022.07.18 |
|---|---|
| UIKit_유투브_신동규 - #3 아무곳이나 클릭했을때 키보드 숨기는 법 (0) | 2022.07.18 |
| UIKit_유투브_신동규 - #1 Pro처럼 project 시작하기 (0) | 2022.07.10 |
| 이런저런_구글링_2 - Alamofire, 얼탱이 없는 Moya.. (0) | 2022.06.23 |
| 이런저런_구글링_1 - Date to String, Design Pattern, Voice Recorder, Post Method (0) | 2022.06.11 |